A game prop set from photos: five objects, one scene, one style
Turn photos of five real objects into a matching low-poly prop set: how to shoot them, which 3D settings keep one style, and what the model guesses.
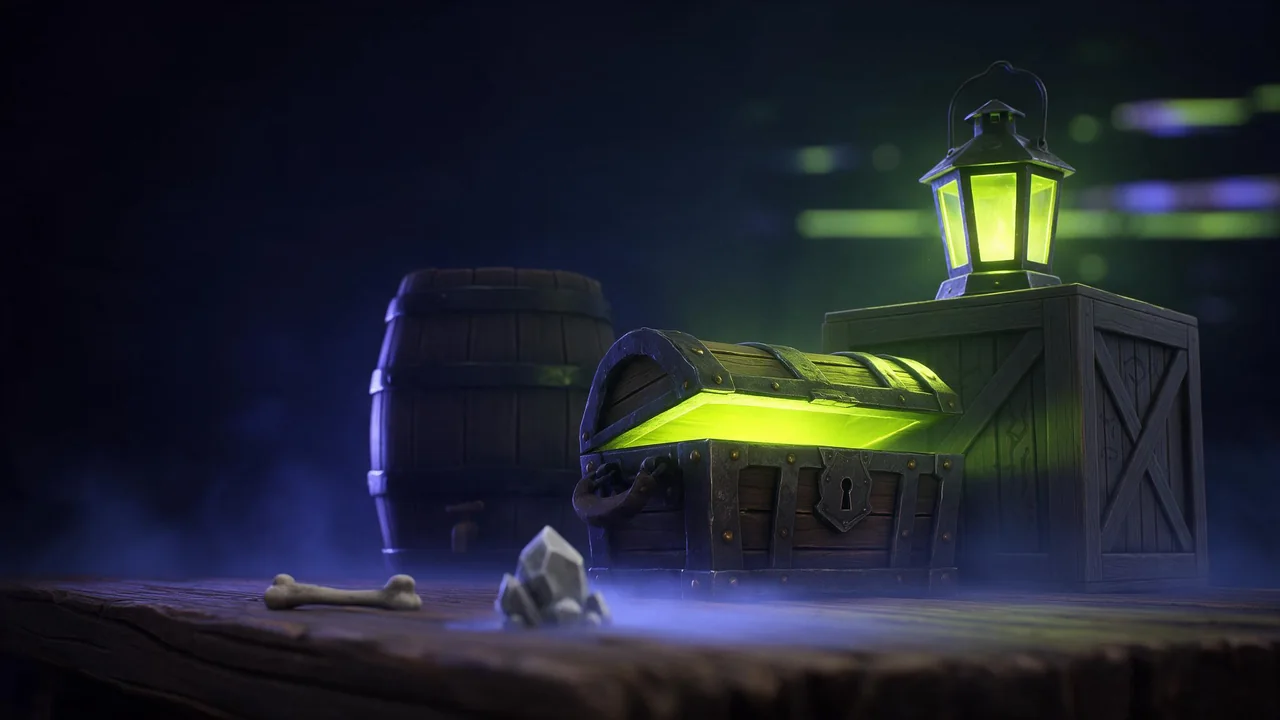
One good mesh is easy. Five meshes that look like they came from the same game are the hard part. A crate in one style, a barrel in another and a lantern with far more detail than both will never sit in one scene, however good each is alone. This is a walkthrough of a small set, a dockside corner with a crate, a barrel, a chest, a lantern and a rock, built from photos with the image-to-3D models in the catalog. It assumes you already know how to take a usable picture of one object; that part lives in the image-to-3D picture checklist. Here the question is how five of them agree.
Plan the set before you shoot anything
Write the five objects down and give each a role. One is the hero, the thing the player looks at: here the chest. Two are mid props, the barrel and the lantern. Two are filler that sits at the edge of the frame: the crate and the rock. The role decides the polygon budget later, and it is much easier to decide it now than to defend a hero-sized rock after the fact.
Then pick a scale reference that will be in every photo, such as a plain mug or a ruler on the floor. The models do not know that a lantern is smaller than a barrel; your reference lets you scale them correctly when you assemble the scene.
Shoot the five as one series
The single biggest cause of a mismatched set is five photos taken in five situations. The model copies the light and colour of each picture into the texture, so a crate shot at noon by a window and a barrel shot under a kitchen bulb come back as two different worlds. Shoot all five in one session:
- Same backdrop. One sheet or wall behind every object, the same distance away.
- Same light. One soft source, placed the same way each time. Turn off mixed lights; a warm bulb on one side and daylight on the other gets baked in as two colours.
- Same angle and height. A slightly raised three-quarter view for all five, camera at the same height relative to the object. If the chest is shot from above and the crate from the floor, their tops will disagree.
- Same white balance. Lock it on the camera or phone so the colour does not drift between shots.
- Extra views for the hero. Walk around the chest and take a front, left, back and right shot. The other four can live with one picture each.
One model for the whole set
Every image-to-3D model has its own hand: how it rounds edges, how much noise it puts in a surface, how it paints wood. Mixing two models in one set shows. Pick one and run all five through it. For a game set, Meshy 7.1 image-to-3D is a good choice because of three settings in its advanced panel:
- Model type: lowpoly. It asks for cleaner, low-polygon geometry instead of a dense scan-like mesh. With lowpoly the topology switch is ignored, so do not spend time on it.
- Texture prompt. Optional text that guides the texture. Write it once and paste the same words into all five runs; this is the most direct lever for one style.
- Texture image. Optional picture that guides the texture. A painted swatch or a frame from the game you are building, used for every object, pulls the set toward one palette.
Hand-painted stylized texture, soft gradients, slightly exaggerated wood grain, warm muted colours, clean dark edge lines, no photographic noise, no baked shadows.For the chest, use the extra photos. Meshy 7.1 multi-image-to-3D takes several views of the same object and has the same texture prompt and texture image fields, so the hero stays in the same family as the rest. If you prefer the other route, Tripo H3.1 multiview-to-3D wants the views in a fixed order, front first, then left, back and right.
The polygon budget, in the fields that exist
There is no single "game ready" switch. What exists is a target number, and it differs by model. Each field shows its allowed range in the studio, so type a number, not a guess about the limits.
- Meshy 7.1: target polycount. Applies to the standard, remeshed output. Give the hero chest the largest number, the barrel and lantern less, the crate and rock the least. The ratio matters more than the absolute values: filler should never out-detail the hero.
- Meshy 7.1: symmetry. Off, auto or on. Turn it on for the barrel and the lantern, which are symmetric in real life, and off for the rock, which should not be.
- Tripo P2 and Tripo H3.1: face limit. The same idea under another name. Leave it empty and the model chooses, which is exactly how a set ends up uneven. Set it on every object.
- Rodin 2.5: quality and mesh. A preset list rather than a free number, each one a quad or triangle count. Pick the same family, quad or triangle, for the whole set.
Unify afterwards with a retexture pass
If the shapes are right but one object still looks off, do not regenerate its mesh. Run all five through Meshy 7 Retexture with one prompt or one reference image. It keeps the original UV mapping by default, and it is the cheapest way to make five surfaces read as one material language.
Stylized game prop, weathered pine planks and dark iron fittings, hand-painted look, gentle colour variation, matte finish, consistent with a cozy harbour town.What the model guesses, prop by prop
Image-to-3D sees one side and invents the rest. In a set, each object fails in its own way, and it is worth knowing where before you look:
- The crate. The underside and the far faces are invented. Usually harmless for a box, but slats may continue as a flat painted pattern instead of real gaps.
- The barrel. Hoops are thin; they tend to come back as painted bands rather than raised rings. For a low-poly game that is often fine.
- The lantern. The worst of the five. The handle, the wire frame and the glass are thin, open or transparent, and the model fills them in. Expect a solid block with a handle-shaped fin. Shoot it with the glass covered by paper, or accept a simpler stylized lantern.
- The chest. With extra views the back is real. With one view, hinges and the lock on the back are guesses.
- The rock. The easiest, since nobody can tell an invented back from a real one.
Putting the scene together
Import the five files into your engine or editor, scale each one against the reference you photographed, and place them before you judge them. Props that look plain alone often look right together, and a mismatch you missed in the viewer is obvious once the barrel stands next to the chest. If you also need a short clip of one prop for a store page, the product turntable guide covers that. To start the set, open the studio and choose an image-to-3D model.
Questions
Can I use a different model for the hero prop?
You can, but it is the most common reason a set looks mixed. If you do, give both the same texture prompt and run a shared retexture pass at the end.
Do I need real photos?
No. Any picture you have the right to use works. If one object is missing, generate it with a text-to-image model in the same light and angle as your photos, then treat it like the others.
Why does my low-poly crate still look noisy?
The noise is usually in the texture, copied from the photo, not in the geometry. Add a texture prompt that asks for no photographic noise, or retexture the crate with the rest of the set.