A product turntable video from one photo, start to finish
Turn one product photo into a clean 360 spin that loops: backdrop, wording, first and last frames, speed, steady labels, and when 3D is the better route.
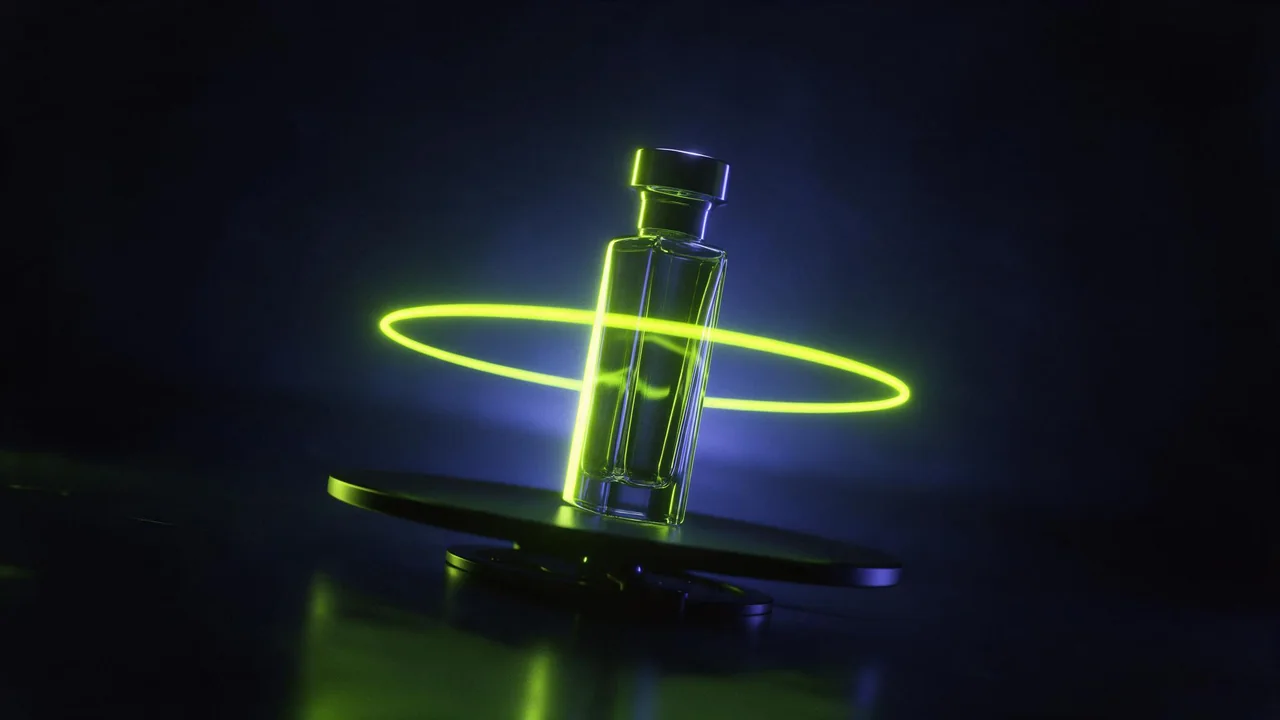
A turntable clip is the most requested product video there is: the object turns once on the spot, the background stays put, and the last frame meets the first so the clip can loop on a shop page forever. It looks simple, and it is one of the easier shots to get right, as long as you treat it as a deliverable with its own rules and not as a generic camera move. This is the whole job, from one product photo to a clip you can publish.
1. Start from a picture the model can spin
Everything the video model knows about the product comes from the first frame. The cleaner that frame, the less it has to guess while the object turns.
- Plain backdrop. A flat white, grey or soft gradient. A busy room gets dragged around with the product.
- Centered, with margin. The product in the middle and empty space on every side, so nothing leaves the frame when the widest side comes round.
- Front label facing you. The first frame is the one view the model copies exactly. Put the side that matters there.
- Soft, even light. Hard highlights slide across the surface as it turns and read as flicker.
If your photo sits on a kitchen table, cut it out first with a background remover, then put the cutout on a plain colour before you animate it. A transparent area is not a backdrop to a video model; give it a real one.
2. The object turns, or the camera orbits
There are two ways to describe a spin, and they produce different clips. In a turntable shot the product rotates on a platform and the camera is locked, so the backdrop never moves. In an orbit the camera travels around a still product, so the background slides past behind it. For a shop loop, ask for the turntable: a static background is what makes the join invisible.
The bottle rotates slowly on a turntable, one full turn over the whole clip at a constant speed. Camera static, locked on a tripod. Plain light grey studio background, soft even light. The bottle is rigid and keeps its exact shape and label.Camera orbits slowly around the sneaker at table height, keeping it centered, one smooth arc around the shoe. The sneaker stays still on a concrete plinth, warm window light from the left.If the vocabulary of moves is new to you, the camera moves guide covers the rest. Here we only need these two.
3. Pin the first and last frame
This is the trick that makes the loop. Kling V4.0 image-to-video takes a first frame, an optional last frame and optional keyframes in between. Give it the same product photo as both the first and the last frame, and the clip has to end where it began. The motion prompt then only describes the turn.
Keyframes are how you stop the model inventing the back. If you have shots of the side and the back, add them as in-between keyframes in the order the product would show them while turning. The model then passes through your real views instead of guessing. The same model lets you choose the duration and the aspect ratio, or leave the ratio to follow your first frame; a square frame suits most shop grids, a tall one suits stories.
If you have several product pictures but none of them is a clean start frame, Kling V4.0 reference-to-video builds a new clip from reference images that you name in the prompt as @Image1, @Image2 and so on. You get more freedom over the setting and less control over the exact first and last frame, so the loop is harder to close. Use it for a hero shot, and the first-and-last-frame route for the loop.
@Image1 is the product, @Image2 is its back label. The jar turns once on a white marble turntable, camera static, showing the front, then the back label from @Image2, then the front again. Even studio light.4. Pick a speed before a length
A turntable clip is one revolution, so the length you pick is the speed. A short clip with a full turn is a fast spin, and fast is where labels smear and edges wobble. Choose a slow, constant turn, then pick the duration that gives it. Say "one full turn over the whole clip" and "constant speed" in the prompt, because a model left alone likes to speed up in the middle and ease out at the end, which shows as a hitch when the clip loops.
Find the speed on a cheap pass first. P-Video-2 image-to-video has a draft toggle for fast, lower-quality previews and a seed field, so you can try a few wordings and keep the seed of the one that turns right before you spend on the finished clip.
5. Keep the label and the shape steady
- Say rigid. "The bottle is rigid and keeps its exact shape" stops the gentle breathing that video models add to anything they animate.
- Keep text big and simple. A bold logo survives a turn; a paragraph of ingredients turns into soft marks the moment it leaves the front.
- One product per clip. Two objects on one turntable double what can drift.
- Avoid glass and chrome for now. Reflections and transparent liquids change with every angle, and the model cannot tell them apart from the product.
- Check the side view. Scrub to the quarter turn where the product is narrowest. If the shape breaks anywhere, it breaks there.
When a 3D model and a render beat a video model
A video model paints a convincing spin; it does not know the object. When you need the same product from exact angles again and again, a 3D model is the better source. Build the mesh with Tripo P2 image-to-3D from one photo, or with Meshy 7.1 multi-image-to-3D from a few views of the same object, download the file and spin it in any 3D viewer or editor. A render of a real model loops perfectly by definition, because the last frame is literally the first.
- Pick 3D for a catalogue of many angles, an interactive viewer or AR on a product page, a back that must be correct, or a series of clips that must match each other exactly.
- Pick video for one hero clip for a feed, a front label that must stay as crisp as the photo, or soft materials like fabric that meshes flatten.
The image-to-3D picture checklist covers how to prepare the photo for that route.
Where it breaks
Without a back view, the back is invented: plausible, generic and probably not your product. A matching first and last frame makes a loop likely, not guaranteed; a small jump at the join still happens, and trimming a few frames at the end usually fixes it. Fine print, glass and anything mirror-like stay unreliable at every speed. If the clip is going on a product page that promises what the customer will receive, check every frame against the real thing.
Questions
Can I make the loop from a single photo?
Yes. Use the same photo as the first and the last frame, describe one slow turn at constant speed, and the model has to close the circle. Adding a back view as a keyframe makes the far side faithful.
Why does my label melt halfway through the turn?
Usually the turn is too fast for the clip length, or the text is too small. Slow the turn with a longer duration, say the object is rigid, and keep the visible text to a large logo.
Turntable or orbit for a shop page?
Turntable. A locked camera and a still background make the join invisible when the clip loops. Use an orbit when you want the setting to move, such as a lifestyle shot.