Before you press generate: a picture checklist for image-to-3D
Seven things to fix in a picture before it becomes a 3D mesh, plus the Tripo P2 settings worth knowing: textures, topology, face limit and delighting.
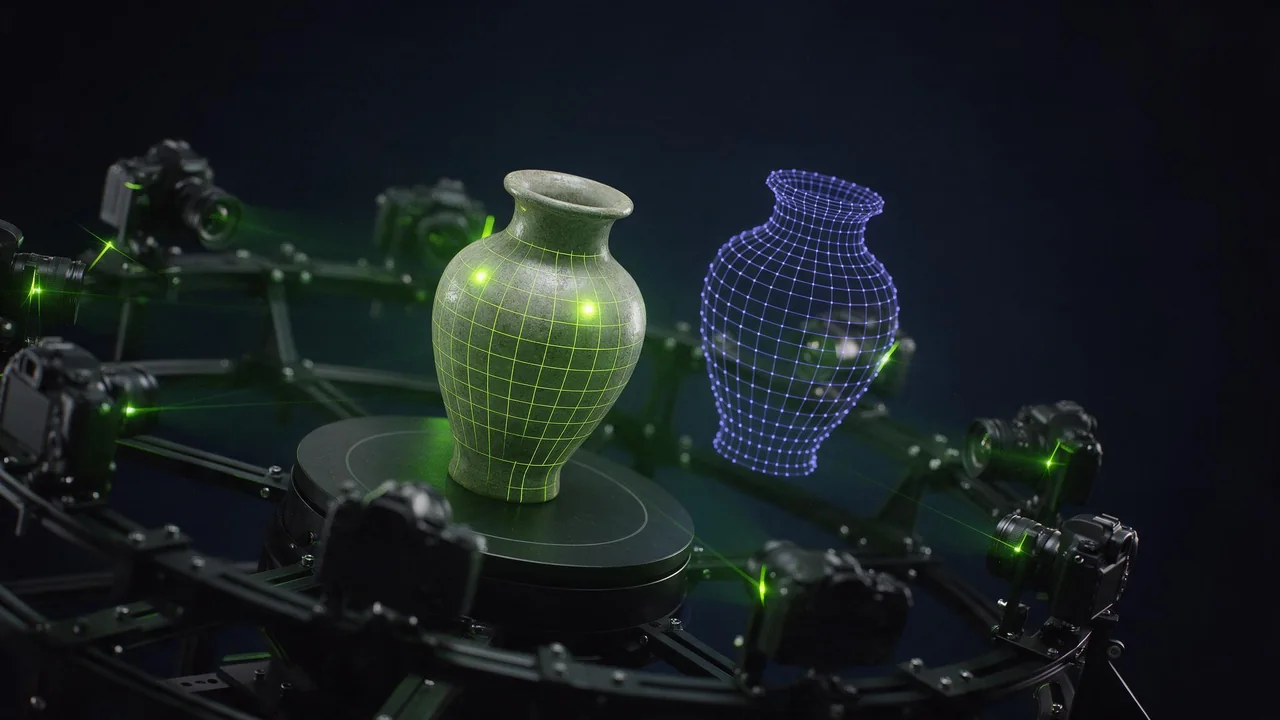
Image-to-3D has one input that matters more than every setting: the picture. The model reads a single view and has to guess the rest. A good picture makes the guess easy, a bad one makes it a coin toss. This is the checklist to run before you spend a render, written for Tripo P2 image-to-3D, then the settings that are worth touching.
The picture: seven checks
- One object. A single subject, fully in frame, with margin around it. A cropped corner becomes a missing corner on the mesh.
- Three-quarter view. Front-on is flat, a pure side hides the depth. A slightly raised three-quarter angle shows the top, the front and one side, which is the most the model can ever see.
- Plain background. A flat, neutral backdrop. Clutter gets merged into the object.
- Soft, even light. Hard shadows and bright highlights get baked into the texture as if they were paint.
- Clear silhouette. Thin handles, spikes and open loops are where meshes fall apart. If the outline is muddy in the picture, it will be muddier in 3D.
- No text or logos you need to read. Small lettering turns into soft marks on the surface.
- Generous resolution. Enough pixels that edges are clean when you zoom. A blurry picture gives a blobby mesh.
You do not have to photograph anything. Make the source picture with a text-to-image model and write the checklist into the prompt.
Product shot of a small ceramic teapot with a rounded body and a short spout, three-quarter view from slightly above, centered on a plain light grey background, soft even studio light, no harsh shadows, whole object in frame with empty margin.A stylized wooden treasure chest with brass corners, closed lid, three-quarter view, centered on a flat neutral background, even diffuse lighting, clean silhouette, no text.The settings worth touching
Open the advanced settings. Most defaults are sensible; these are the ones that change what you can do with the file.
- Texture and PBR. Switch both off for an untextured mesh when you plan to texture it yourself, and it is priced lower. Turn PBR on when the asset needs to react to light in an engine.
- Texture quality. Start on the standard tier and go higher only for a hero asset; the cheaper tiers are fine for blocking out a scene.
- Delight. On by default for the newest texture version. It removes lighting baked into the picture, so the model does not carry the shadows from your photo into your scene.
- Quad topology. Quads are friendlier to sculpting and animation than triangles, at the cost of a lower face ceiling. Pick it if a person will edit the mesh.
- Face limit. Cap the polygon count when the file has to run on a phone or in a web viewer. Leave it empty and the model chooses.
- Auto size. Scales the model to real-world metres, useful for AR and anything that must match a scene.
- Export UV. Keep it on if the mesh will be retextured or painted later.
Text instead of a picture
Tripo P2 text-to-3D takes a description and skips the picture, with the same options. It is quicker to try, and noticeably less predictable. A good compromise is to generate a few stills from text, pick the one that satisfies the checklist and send that to image-to-3D.
A pass for textures
If the shape is right but the surface is not, do not regenerate the mesh. Retexture it. Meshy 7 Retexture takes an existing model and new materials from a prompt or a reference image, and keeps the original UV mapping by default.
Weathered brass with green verdigris in the crevices, hand-brushed metal on the edges, dark matte ceramic body.Where it breaks
A single picture contains one side of the object, and the model invents the other. Expect the back to be plausible and generic, not accurate. Fine details, thin parts and anything transparent or reflective are unreliable. The result is a solid starting point for a prop, a print or a prototype, and not a measured scan. If the back matters, check it in a viewer before you build on it.
Questions
Which file format do I get?
The model page lists the output. Meshes come as standard 3D files that open in common viewers, engines and editors; check the page of the model you use for the exact format.
Can I use a photo of a real object?
Yes, as long as you own the picture or have the right to use it. Shoot it on a plain background in soft light and it follows the same checklist.
Why does my model look flat?
Usually the source was a straight front view. Regenerate the picture from a three-quarter angle and the form improves.